Sometimes a lightly hopped brew with a warm maltiness is something that resonates with my taste buds. A good Belgian Abbey or gently roasty Dubbel often need just a little more fermentables without adding much body. This is where Belgian Candi sugar is added to the grain bill. This will add ABV and give a slight sweet, sugary finish to your brew. If you wish to reduce the glutens in your brew, Belgian Candi Sugar is the perfect addition.
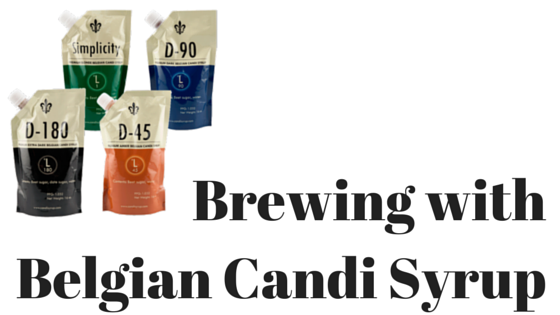
D180™ - The darkest and richest award winning candi syrup with an SRM of 180. It has no competitors for flavor, color or smooth fermentability. Subtle notes of anise, dark chocolate (some say fresh ground coffee), dark stone fruit, caramel, with a hint of dark-toasted bread. An exceedingly superior syrup for superior clones of Westvleteren 12, Rochefort 10, and all dark high gravity Belgian Ale’s.
D90™ - A most versatile award winning dark candi syrup with a mild palate of dark chocolate, dark stone fruit, slight hint of coffee, toffee, and medium-toasted bread notes. Excellent for all Belgian Ale’s.
D45™ - A dark-amber translucent Candi Syrup with hints of caramel, vanilla, and lightly toasted bread. Exceedingly good in all Ale recipes that call for a caramel aromatic. Not limited to Belgian Ale’s.
Simplicity Candi Syrup™ - This blonde Candi Syrup is unlike anything available on the market. Simplicity Candi Syrup™ is a light blonde, carefully developed syrup excellent for Saison and Golden Ales or as an addition to any higher gravity ale. It is has a balance of highly fermentable sugars and creates a refreshing subtle flavor that is always on the periphery of your palate somewhere between citrus and honey but much lighter. Simplicity Candi Syrup™ is much to be preferred over using other adjuncts due to it’s balance of readily fermentable sugars and subtle flavor contribution.
To add additional complexity to your stout or porter, consider 1# of the D-180. Step up the ABV and interesting complexity to your American Amber by adding 1# of the D-45.